


Introduction:
In this blog tutorial, I'll explore the process of hosting a static website on Azure Blob Storage. Azure Blob Storage is a scalable object storage solution that allows you to store and serve large amounts of unstructured data, including static web content. Follow along as I highlight each step, from the creation of the Blob Storage to the deployment of your static website.
Create an Azure account if you don't have one. Signup Here
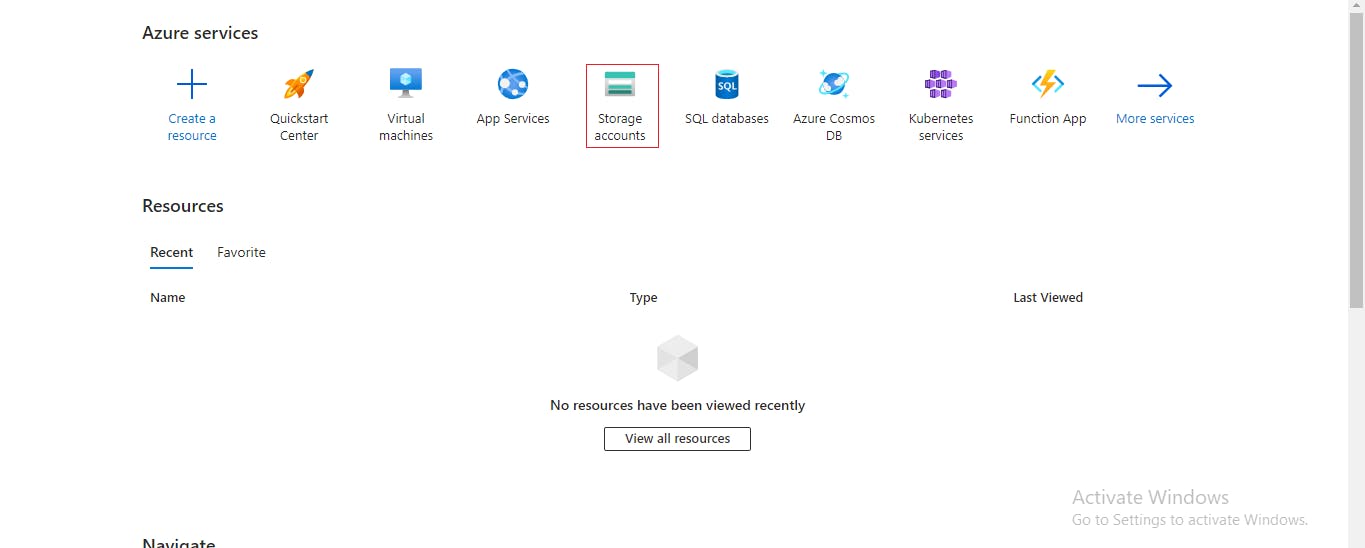
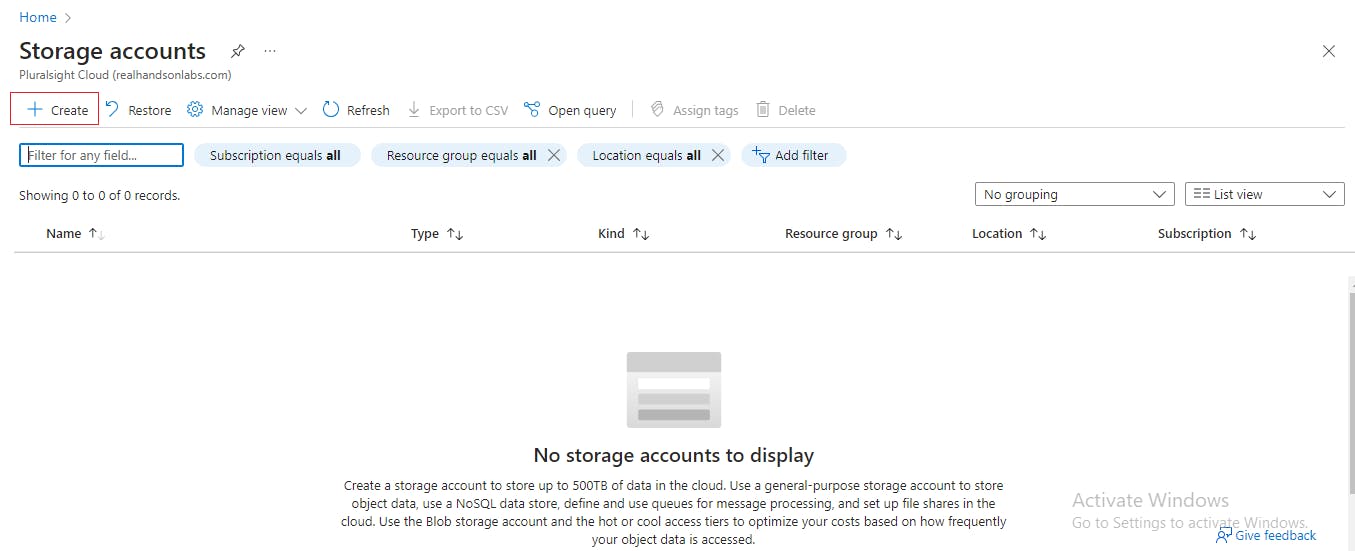
Access the Azure Portal and navigate to the Azure Storage account.
Initiate the process by selecting the 'Create' option.
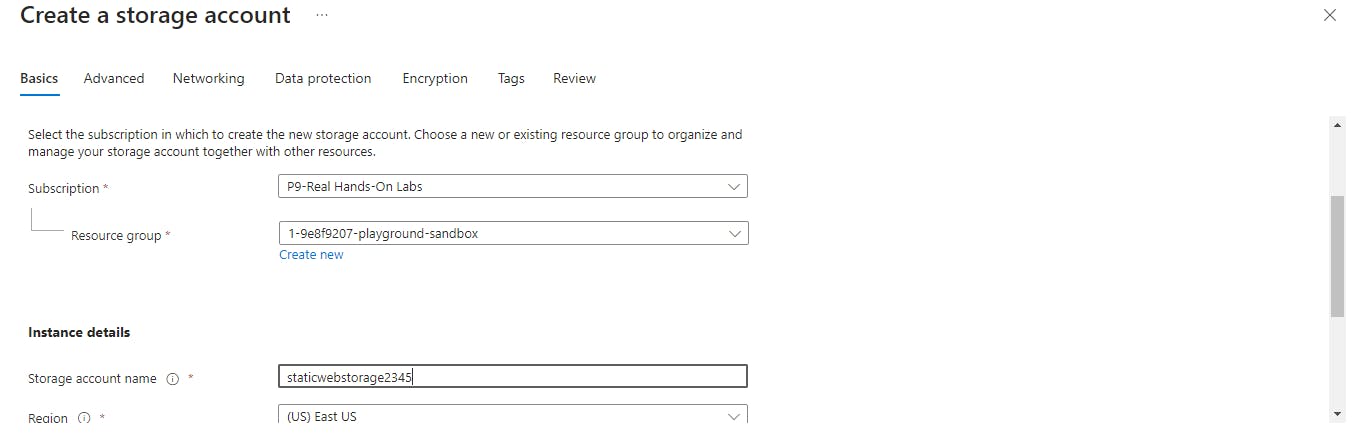
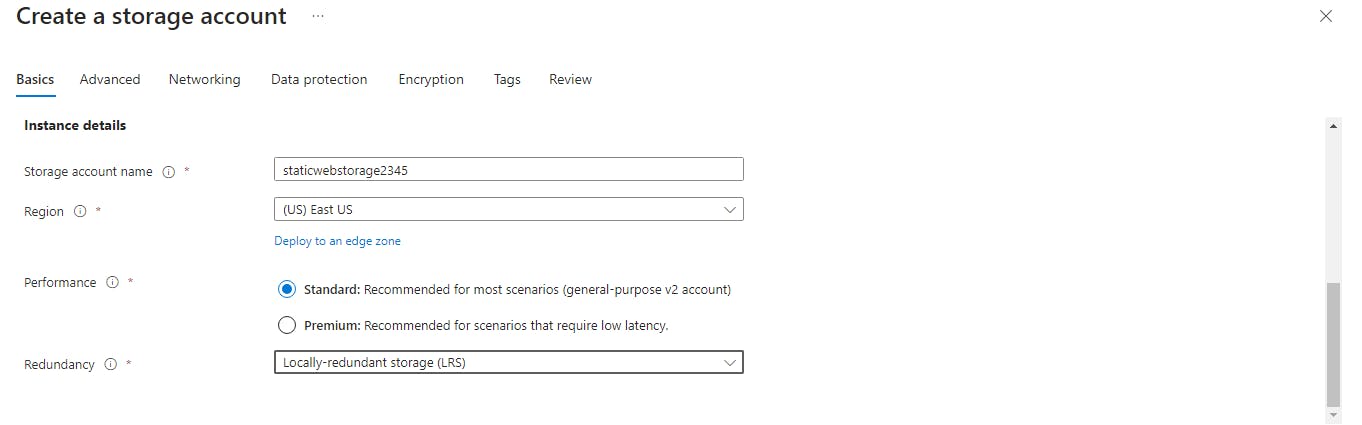
On the "Basic" tab configure it based on your requirements, for this tutorial I choose a unique name for the storage account and used the below settings. And move to the "Advanced" tab.
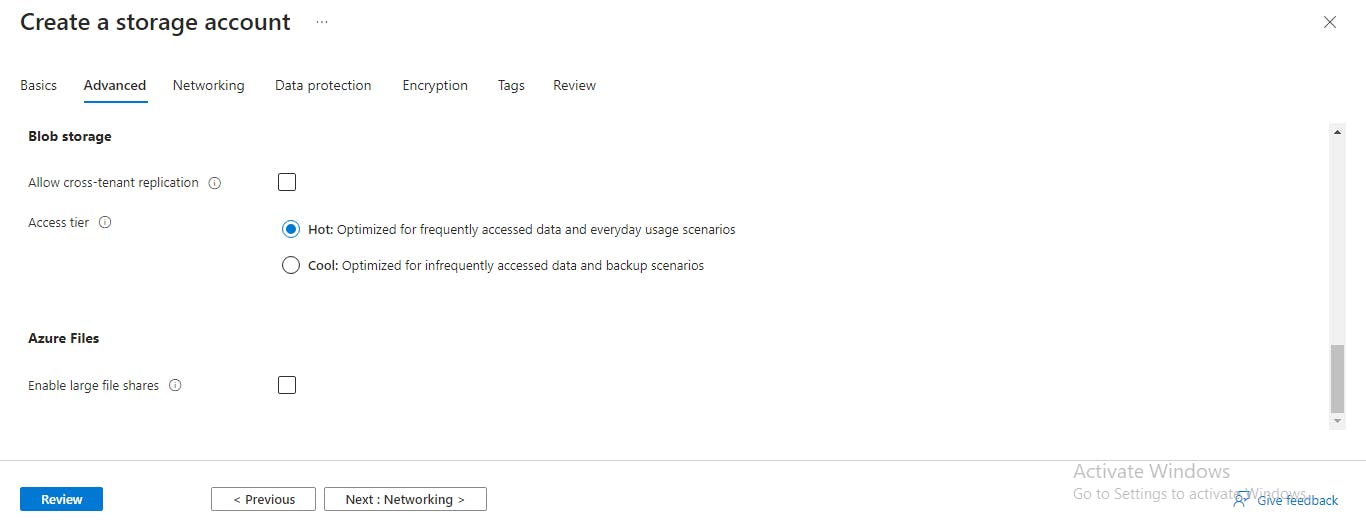
On the "Advanced" tab I selected the below settings. Then proceed to the "Networking" tab.

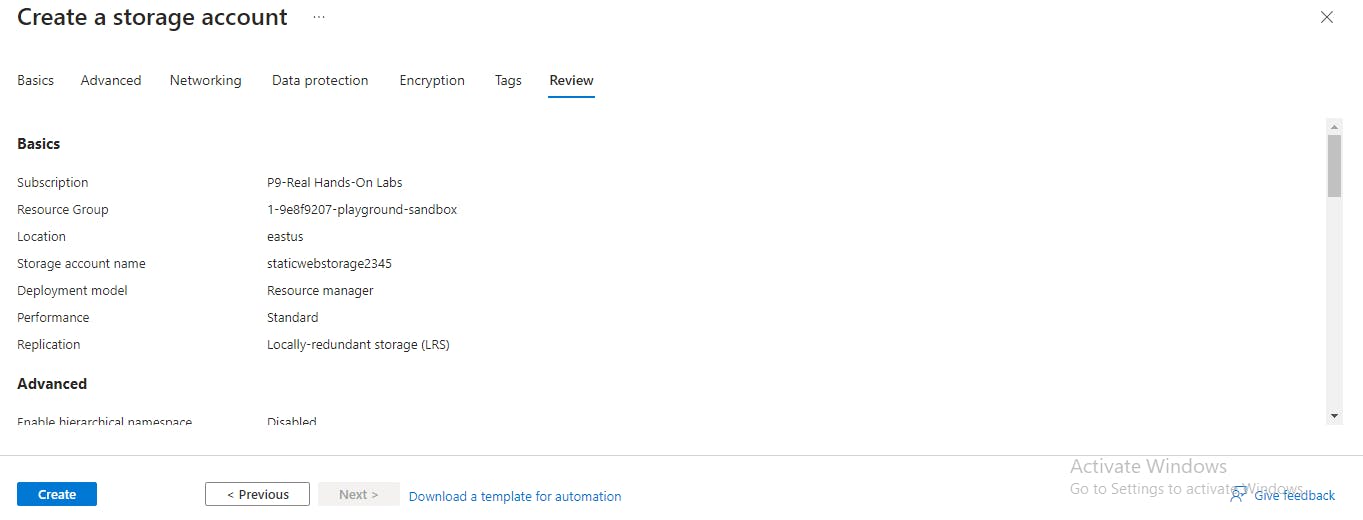
I choose the default settings for the rest tabs and clicked on "Review" and "Create" to create the storage account.
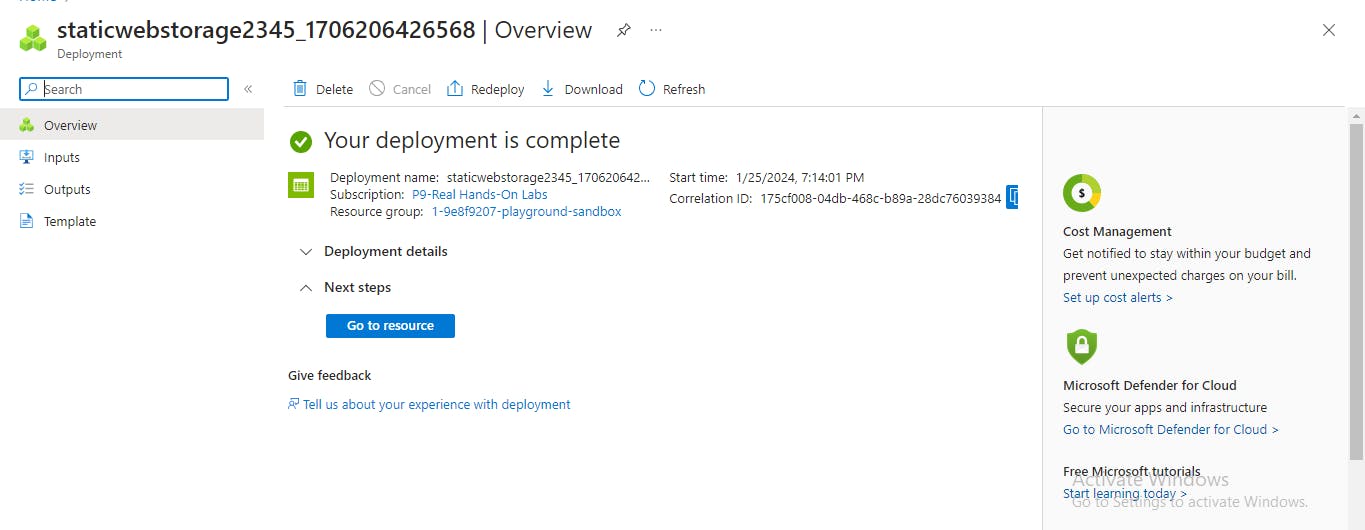
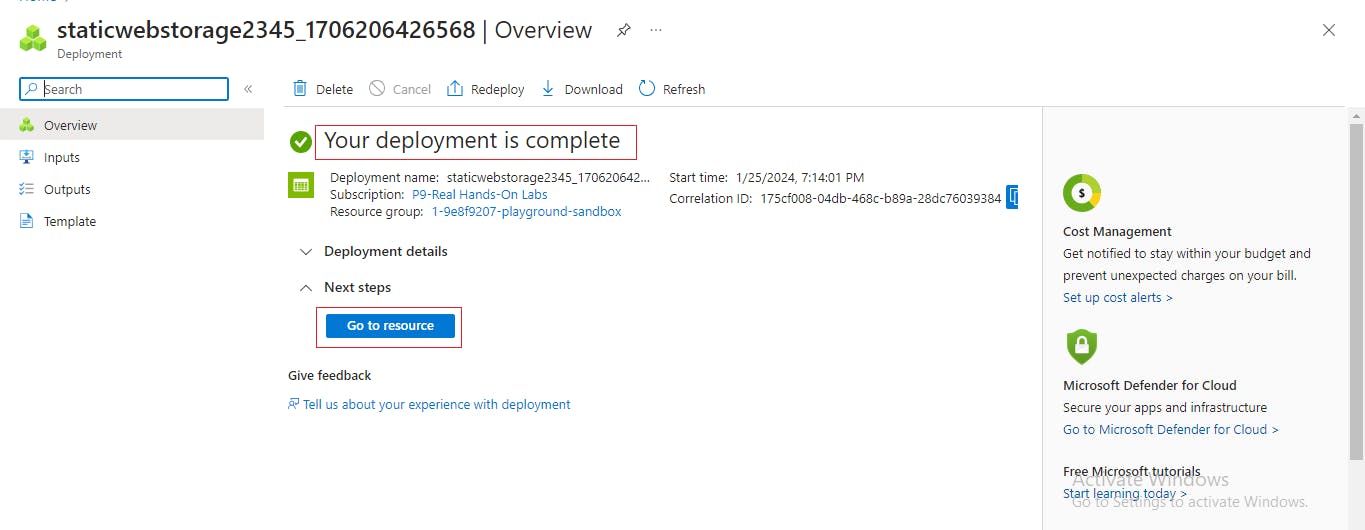
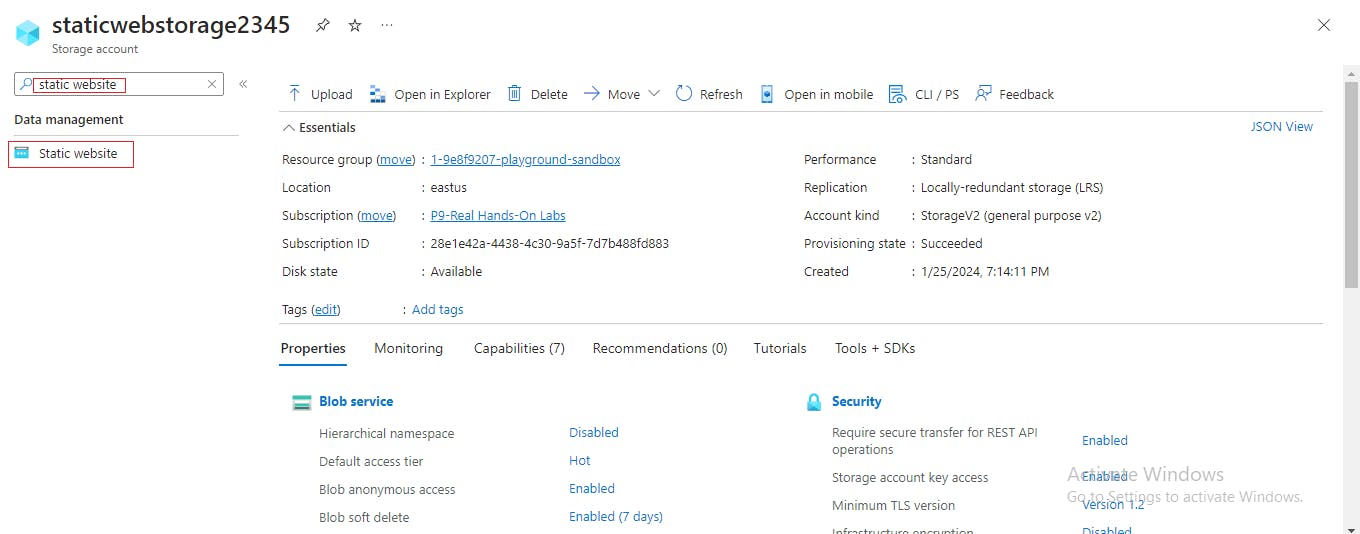
After a complete deployment, click on "Go to resource" button.
On the left pane, search/type static website on the search bar and click on Static website.
Toggle the "Enable" button and add the entry point in the "Index document name" and directory for "Error document path" and save.
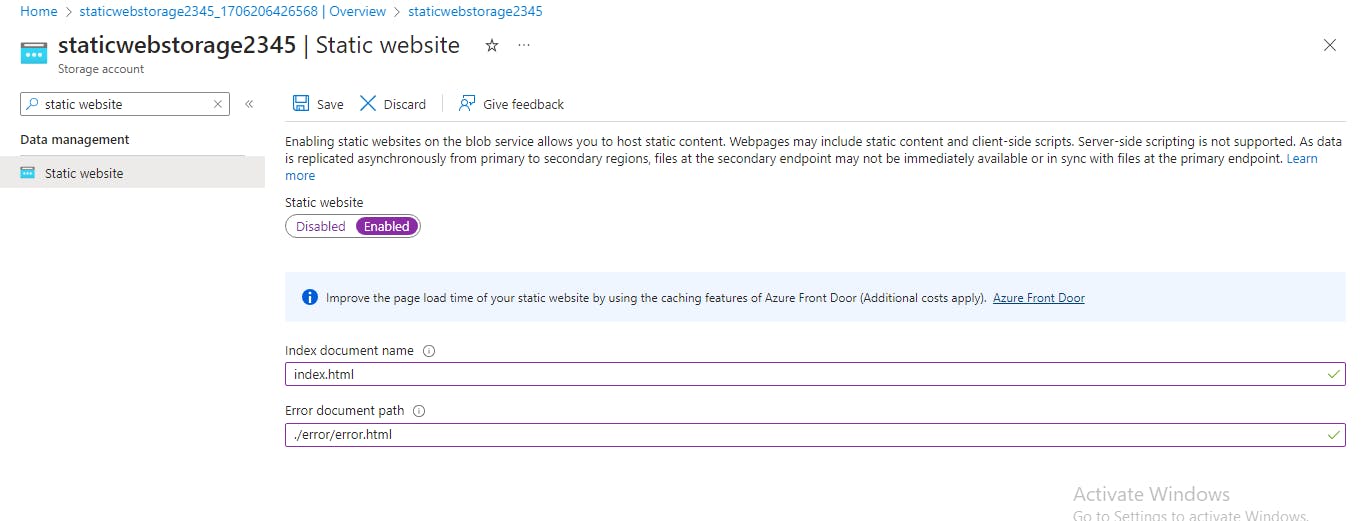
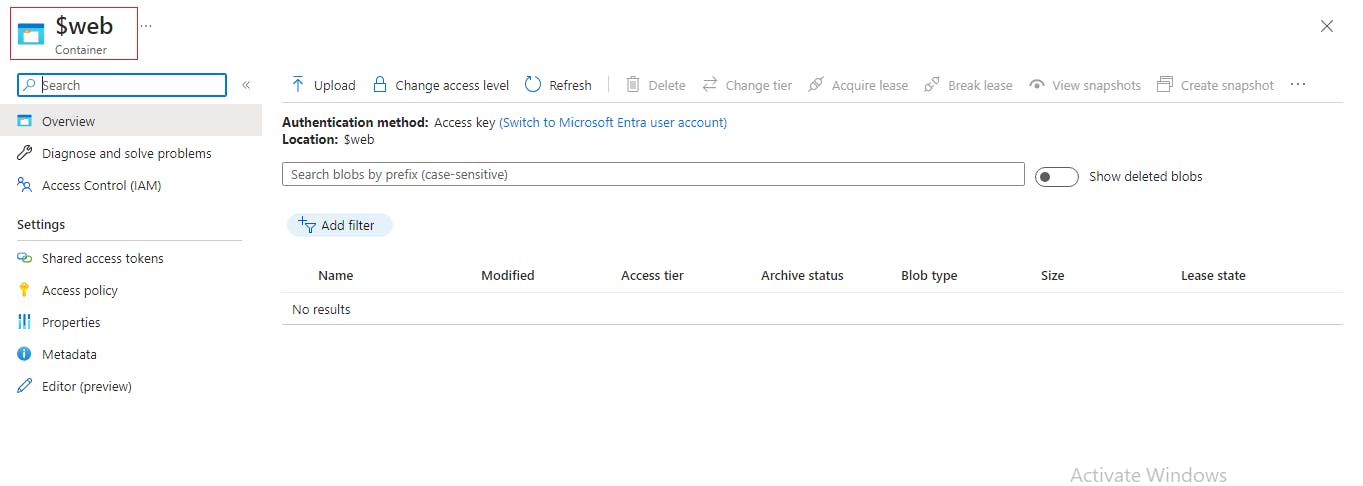
Upon saving the settings, a primary endpoint is promptly generated, and a container named "$web" is established.

I already have an imported project folder on my visual studio code. Click on Azure icon and login into your Azure account as shown below.
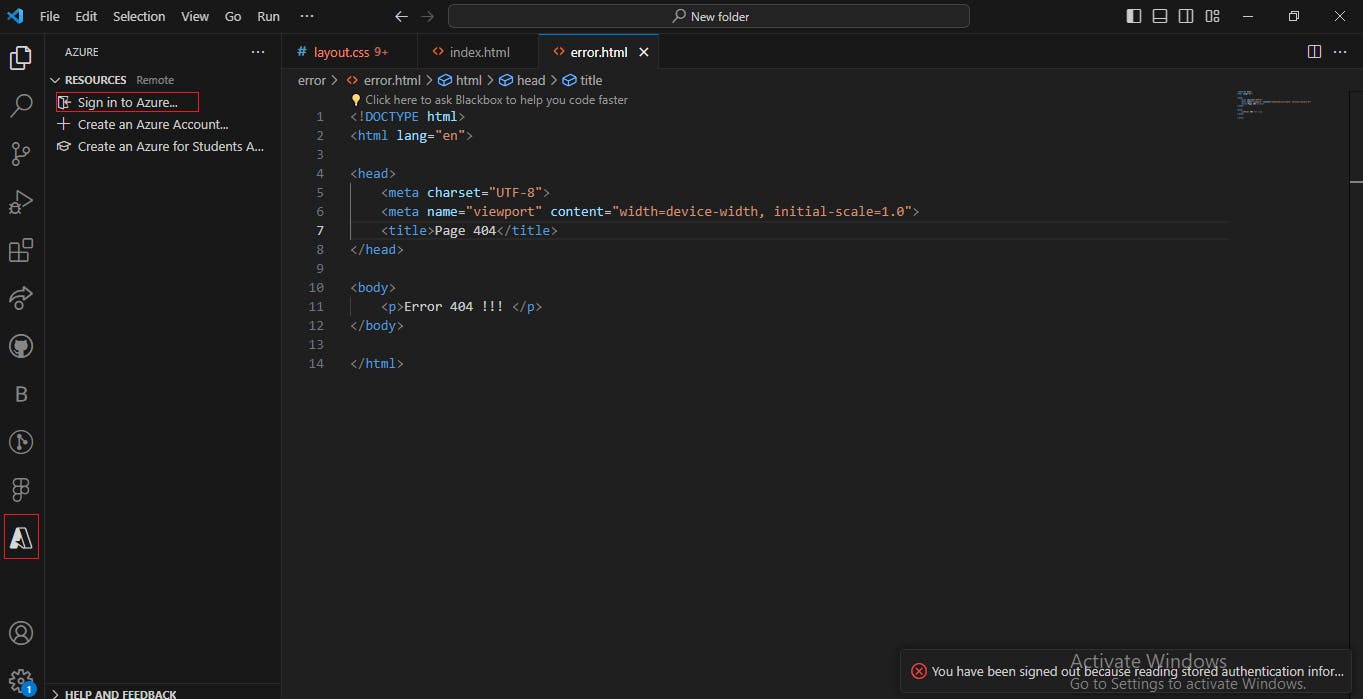
A browser will be automatically launched when the "Sign in to Azure" is clicked. After filling the login credentials, the Azure Resources will be displayed.
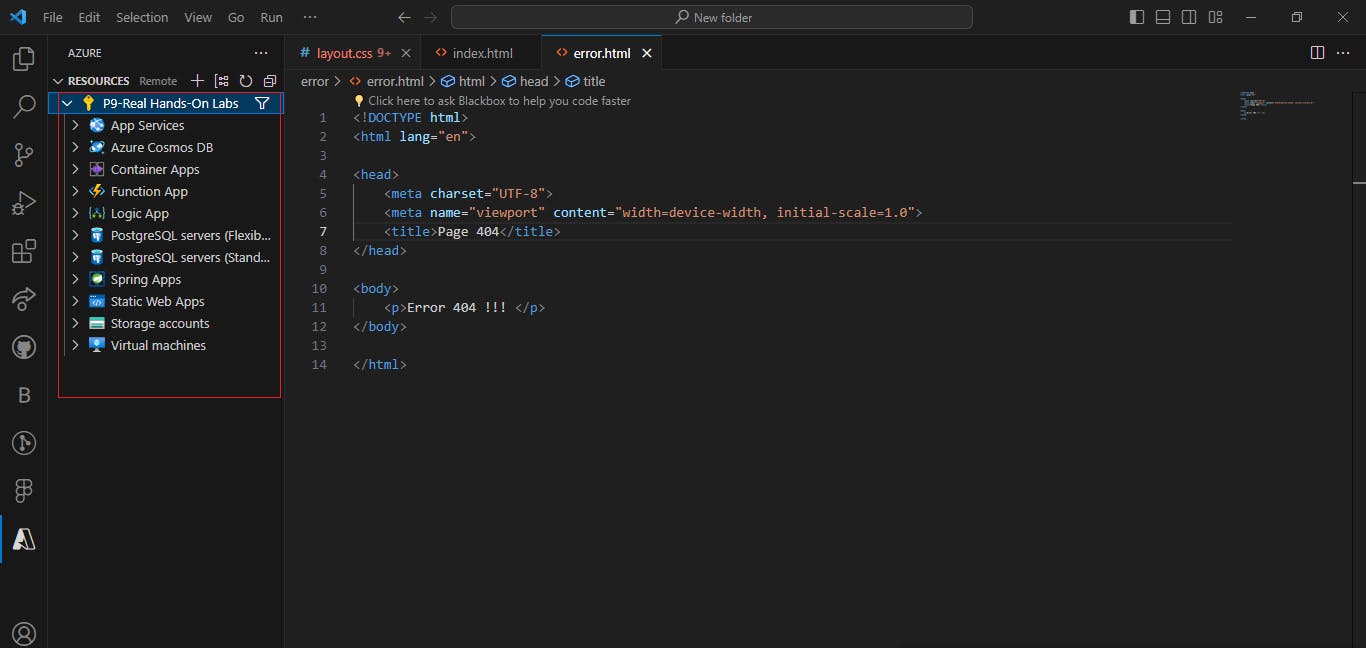
Now click on Storage accounts, open the created storage account dropdown arrow to open the Blob container.
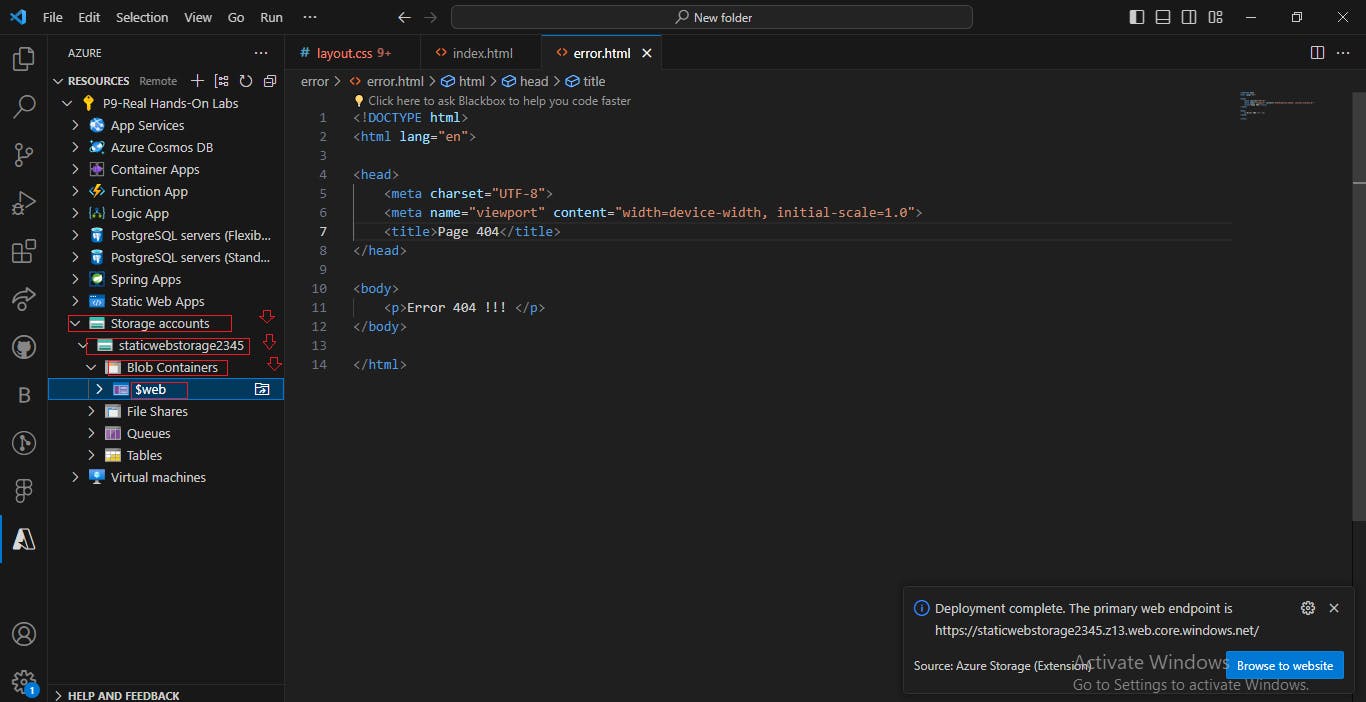
Right-Click on the Blob Container "$web" and click on "Deploy to Static Website via Azure Storage..."

A notification will pop up on the far bottom right of your VS code when deployment is complete/successful.
Within the Azure platform, all files and folders will be included in the previously established "$web" container.
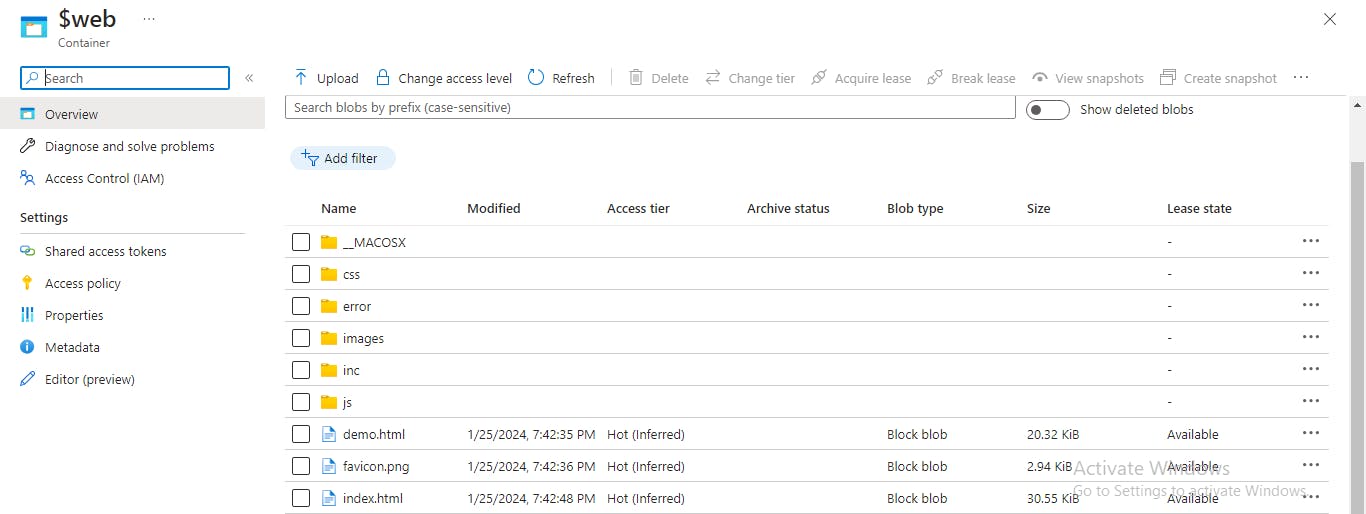
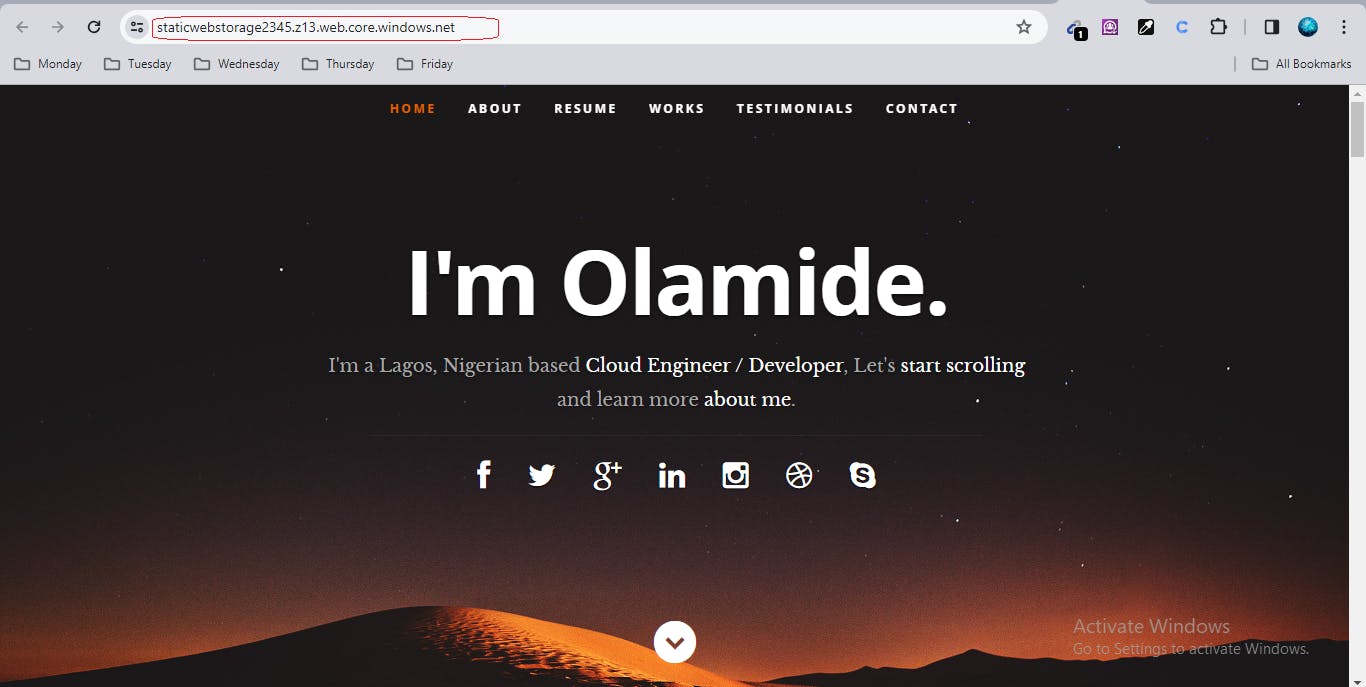
The deployment of our static website has been successfully completed, as depicted in the image below.
Conclusion:
In wrapping up, we've successfully deployed our static website on Azure Blob Storage, leveraging key configurations and optimizing performance. Azure's seamless integration and versatility make it an ideal choice for hosting static content. As you continue your Azure journey, explore additional features and optimizations to refine your hosting experience. Cheers to efficient and reliable static website hosting on Azure!