

INTRODUCTION:
On this technical content blog, I 'll walk you through the steps of setting up an Amazon Web Services (AWS) virtual machine, or EC2 instance. This comprehensive tutorial will take you step-by-step through the entire process, regardless of your level of experience as a developer or whether you're a newcomer wishing to learn more about cloud computing.
Prerequisites:
Before we dive into creating a virtual machine on AWS, make sure you have the following prerequisites in place:
An AWS account: If you don't have an AWS account, you can sign up here.
AWS Management Console Access: Log in to your AWS Management Console using your credentials.
Step 1: Accessing the EC2 Dashboard
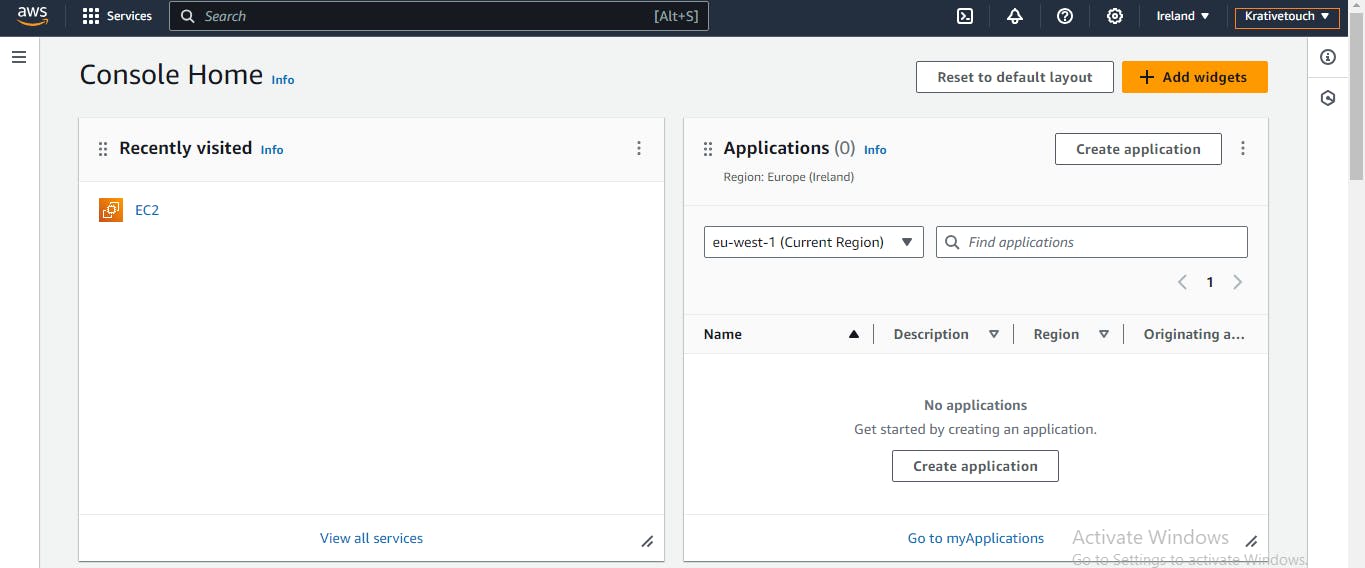
In the AWS Management Console, navigate to the EC2 service. You can find it by searching for "EC2" in the services search bar or scroll down to locate it.
Click on the "Launch a virtual machine" link to access the EC2 Dashboard as shown on the image below.

Step 2: Launching an EC2 Instance
After clicking the "Launch a virtual machine" link, it direct to a page where the instance details must be filled .
Add a preferred name on "Name and tags" section.
(i) Choose number of instances.
(ii) Choose an Instance Type: Select the instance type based on your application's needs. The t2.micro instance type is eligible for the AWS Free Tier.
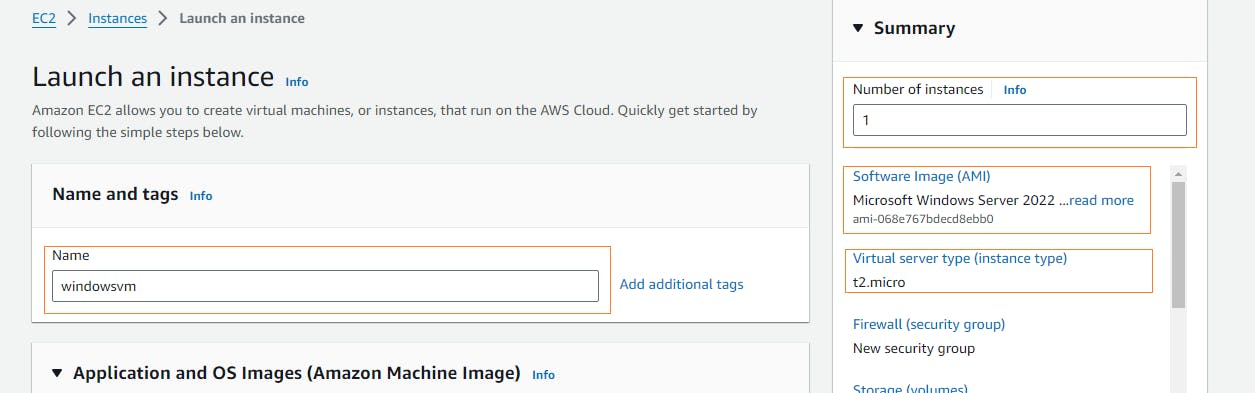
Choose a preferred Amazon Machine Image (AMI) for your instance. Select an AMI based on your requirements. Common choices include Amazon Linux, Ubuntu, or Windows Server. I chose Microsoft Windows Server 2022 Base (Free tier eligible) for this blog.

Select or Create a Key Pair: Choose an existing key pair or create a new one. This key pair is necessary to connect to your instance securely.


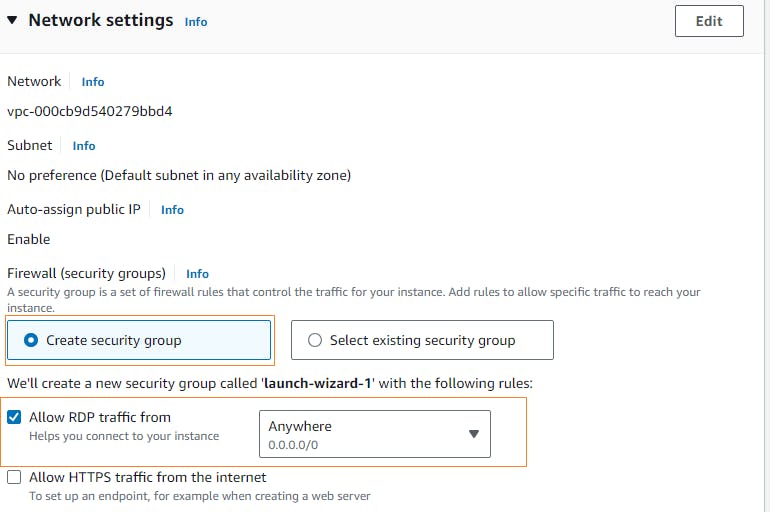
Configure Security Group: Define inbound and outbound rules for the security group associated with your instance. This controls the traffic to and from your instance. I used the configuration below for this blog.
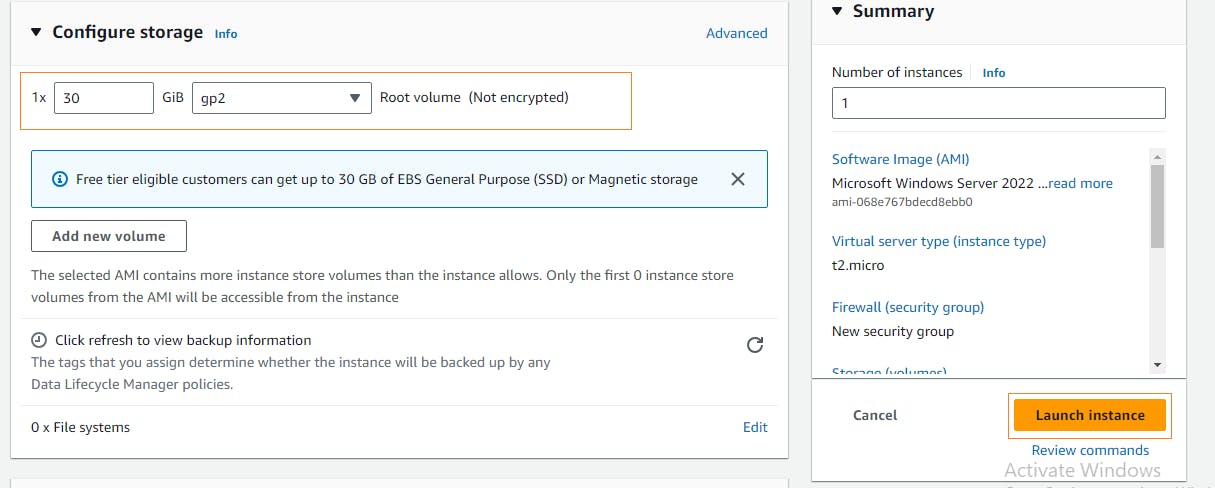
Add Storage: Specify the storage requirements for your instance. You can customize the size and type of the root volume. I will use the default settings for this blog. Then click on the "Launch instance" button.
Congratulations! You have successfully created a virtual machine on AWS.

Step 3: Accessing Your Virtual Machine
Click on the link inside the bracket. This will direct you to the page below.
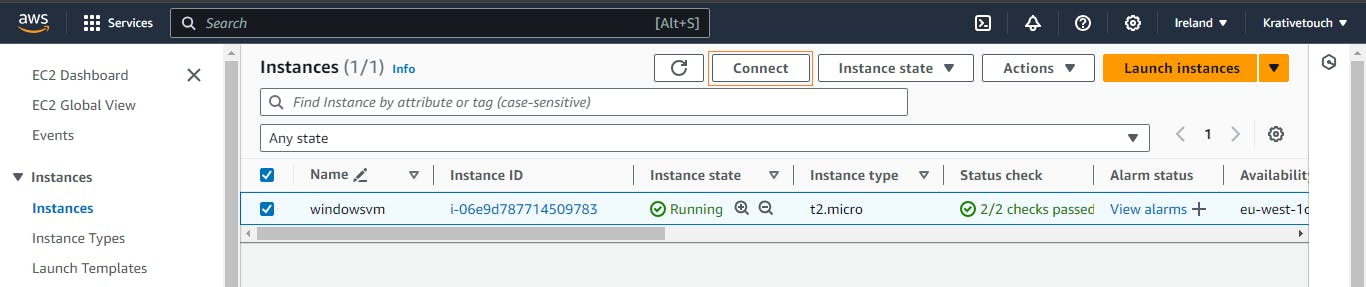
Once your instance is running, select it from the instances list in the EC2 Dashboard.

Click the "Connect" button to get connection instructions.
Navigate to "RDP client" tab and download the RDP file to connect.

Scroll down and click on Get password to retrieve the Key pair created earlier.

Upload the private key file generated earlier and click on "Decrypt password" to retrieve password for accessing the virtual machine.

We have decrypted the private key.
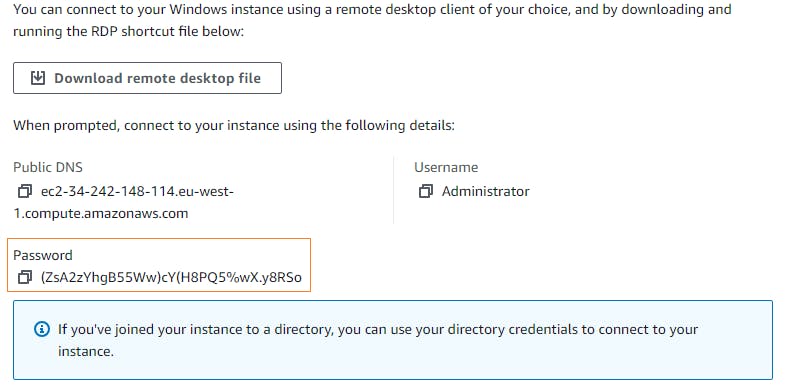
Now to connect, on the highlighted tab open another window tab to get the public ip address as displayed below.


Launch the downloaded RDP file and connect using the required details.
(i) Click on connect when the RDP wizard pops up.
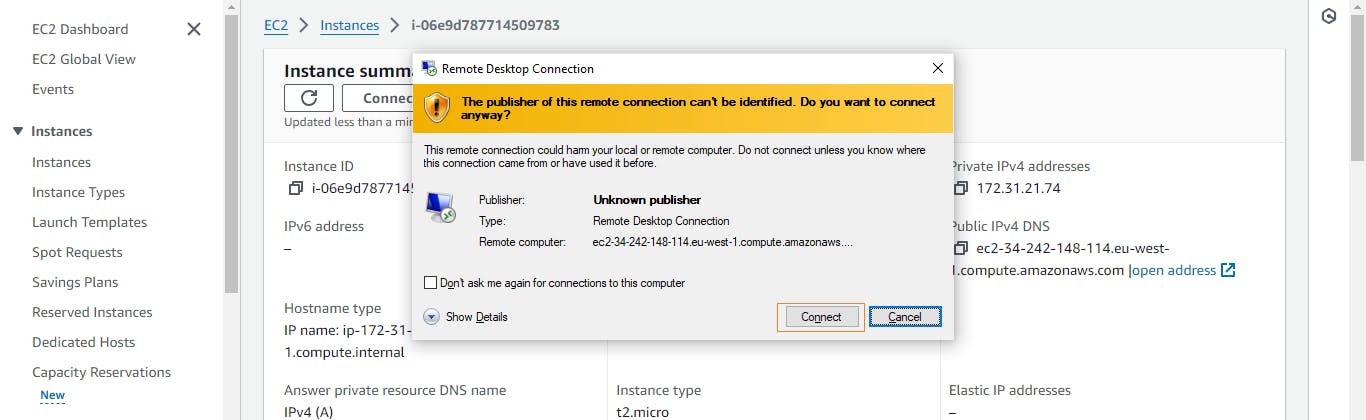
(ii) Add the decrypted password .
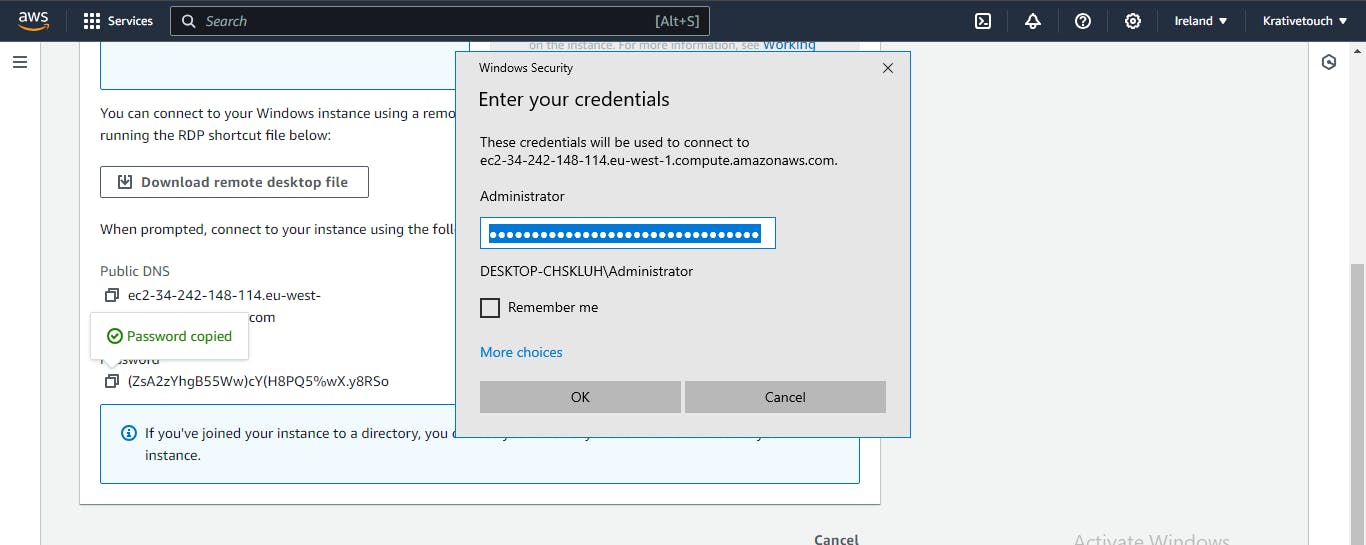
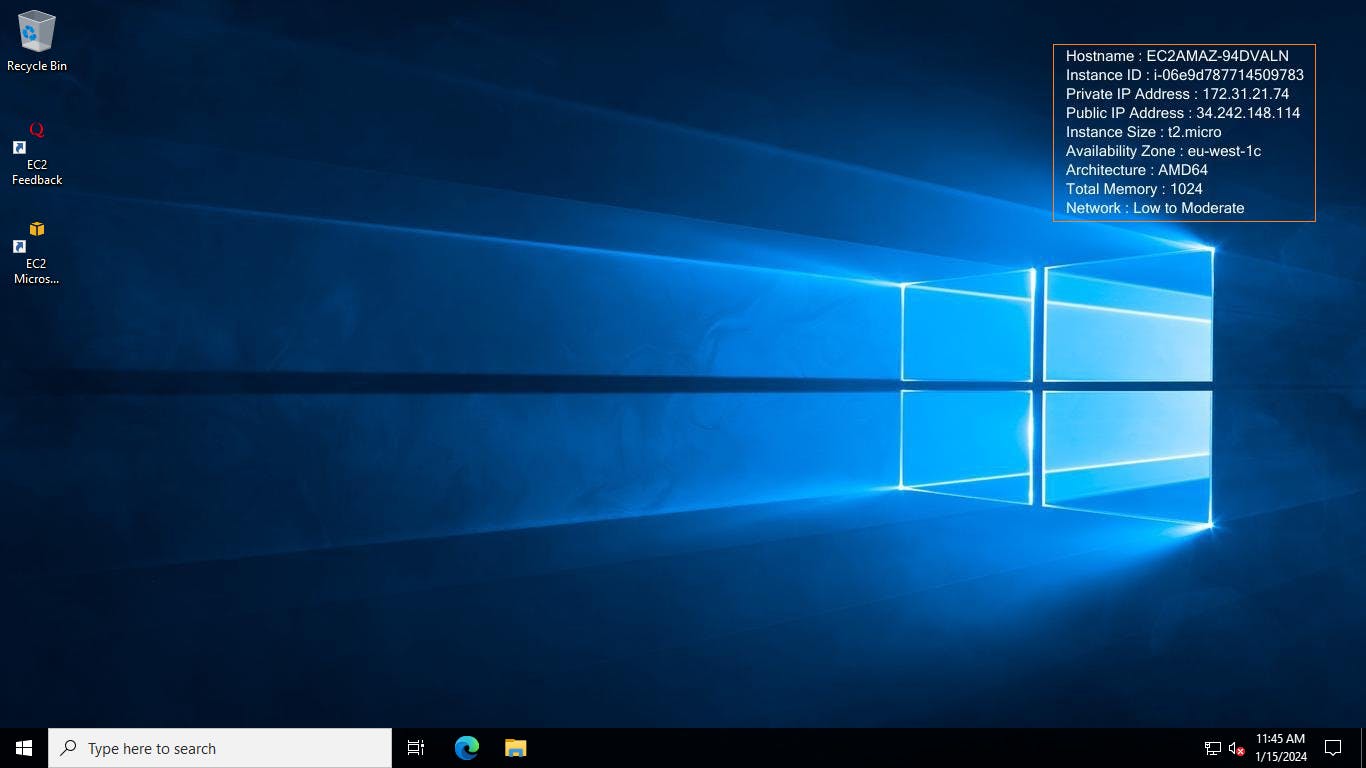
(iii) Click on the "Yes" button and wait for the virtual machine to launch.

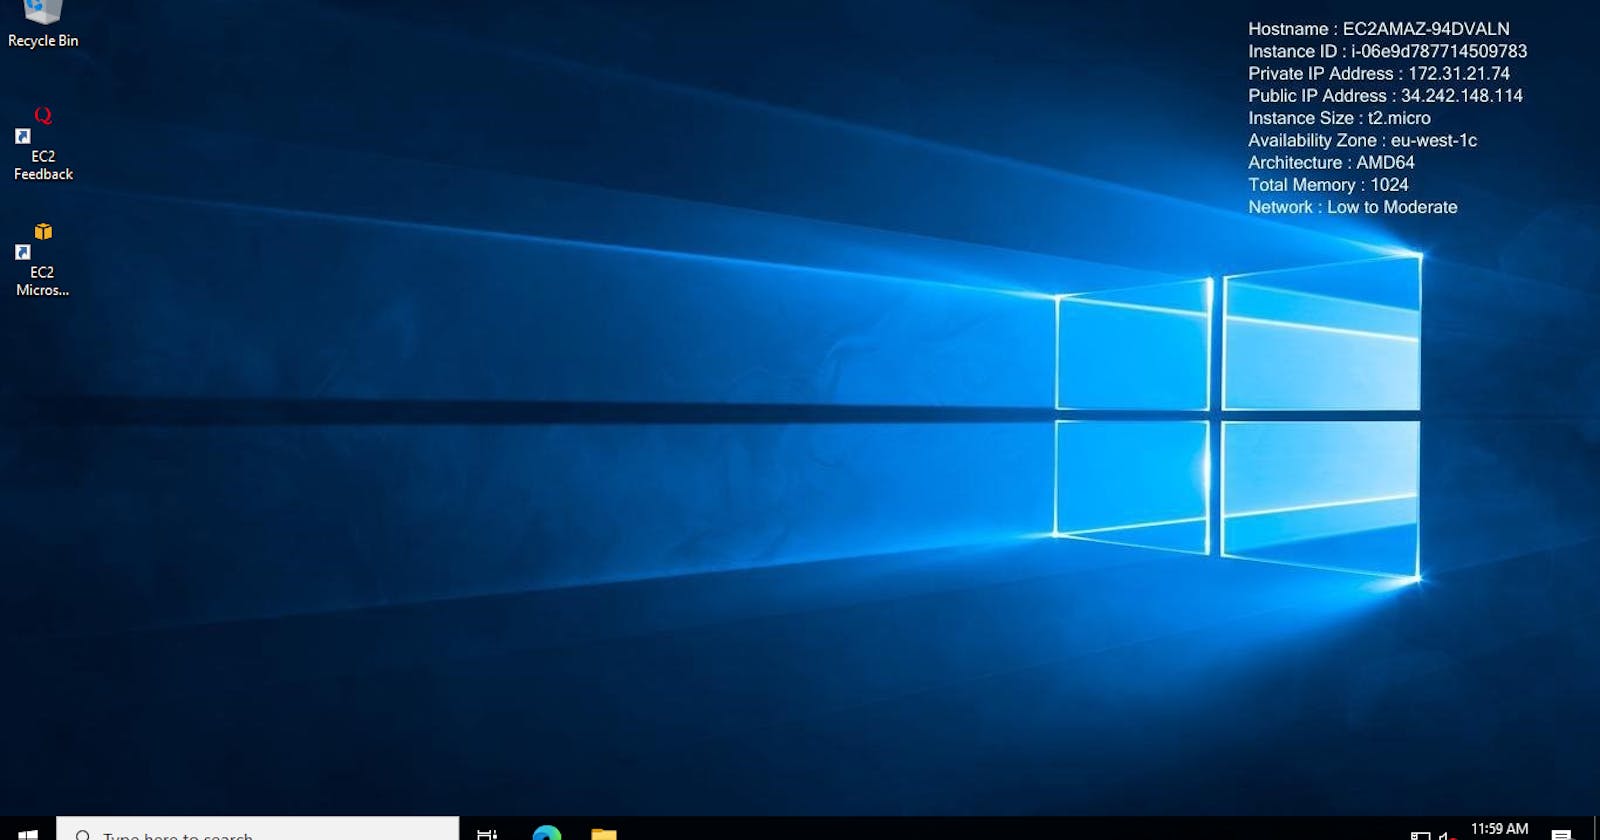
Congratulations! You have successfully created and accessed a virtual machine on AWS. Feel free to explore more on my blogs on additional features, such as Elastic Load Balancing, Auto Scaling, and more, to enhance your cloud infrastructure.
Conclusion
In this guide, we covered the essential steps to create a virtual machine on AWS using the EC2 service. AWS provides a flexible and scalable cloud computing platform, and understanding how to launch and manage virtual machines is a fundamental skill for cloud enthusiasts and professionals alike. Experiment with different configurations and explore additional AWS services to build robust and resilient cloud solutions.
Thanks for reading. Kindly follow for more great contents !!!